Good morning! I am excited to share my next layout with you!
To create this layout; Step 1 – Use your favorite ECD stencil (I used one from the Earth Patterns) and texture paste on your background paper then distress the edges
Step 2 – Use ephermera, varying sizes of scraps of coordinating paper create a photo mat collage
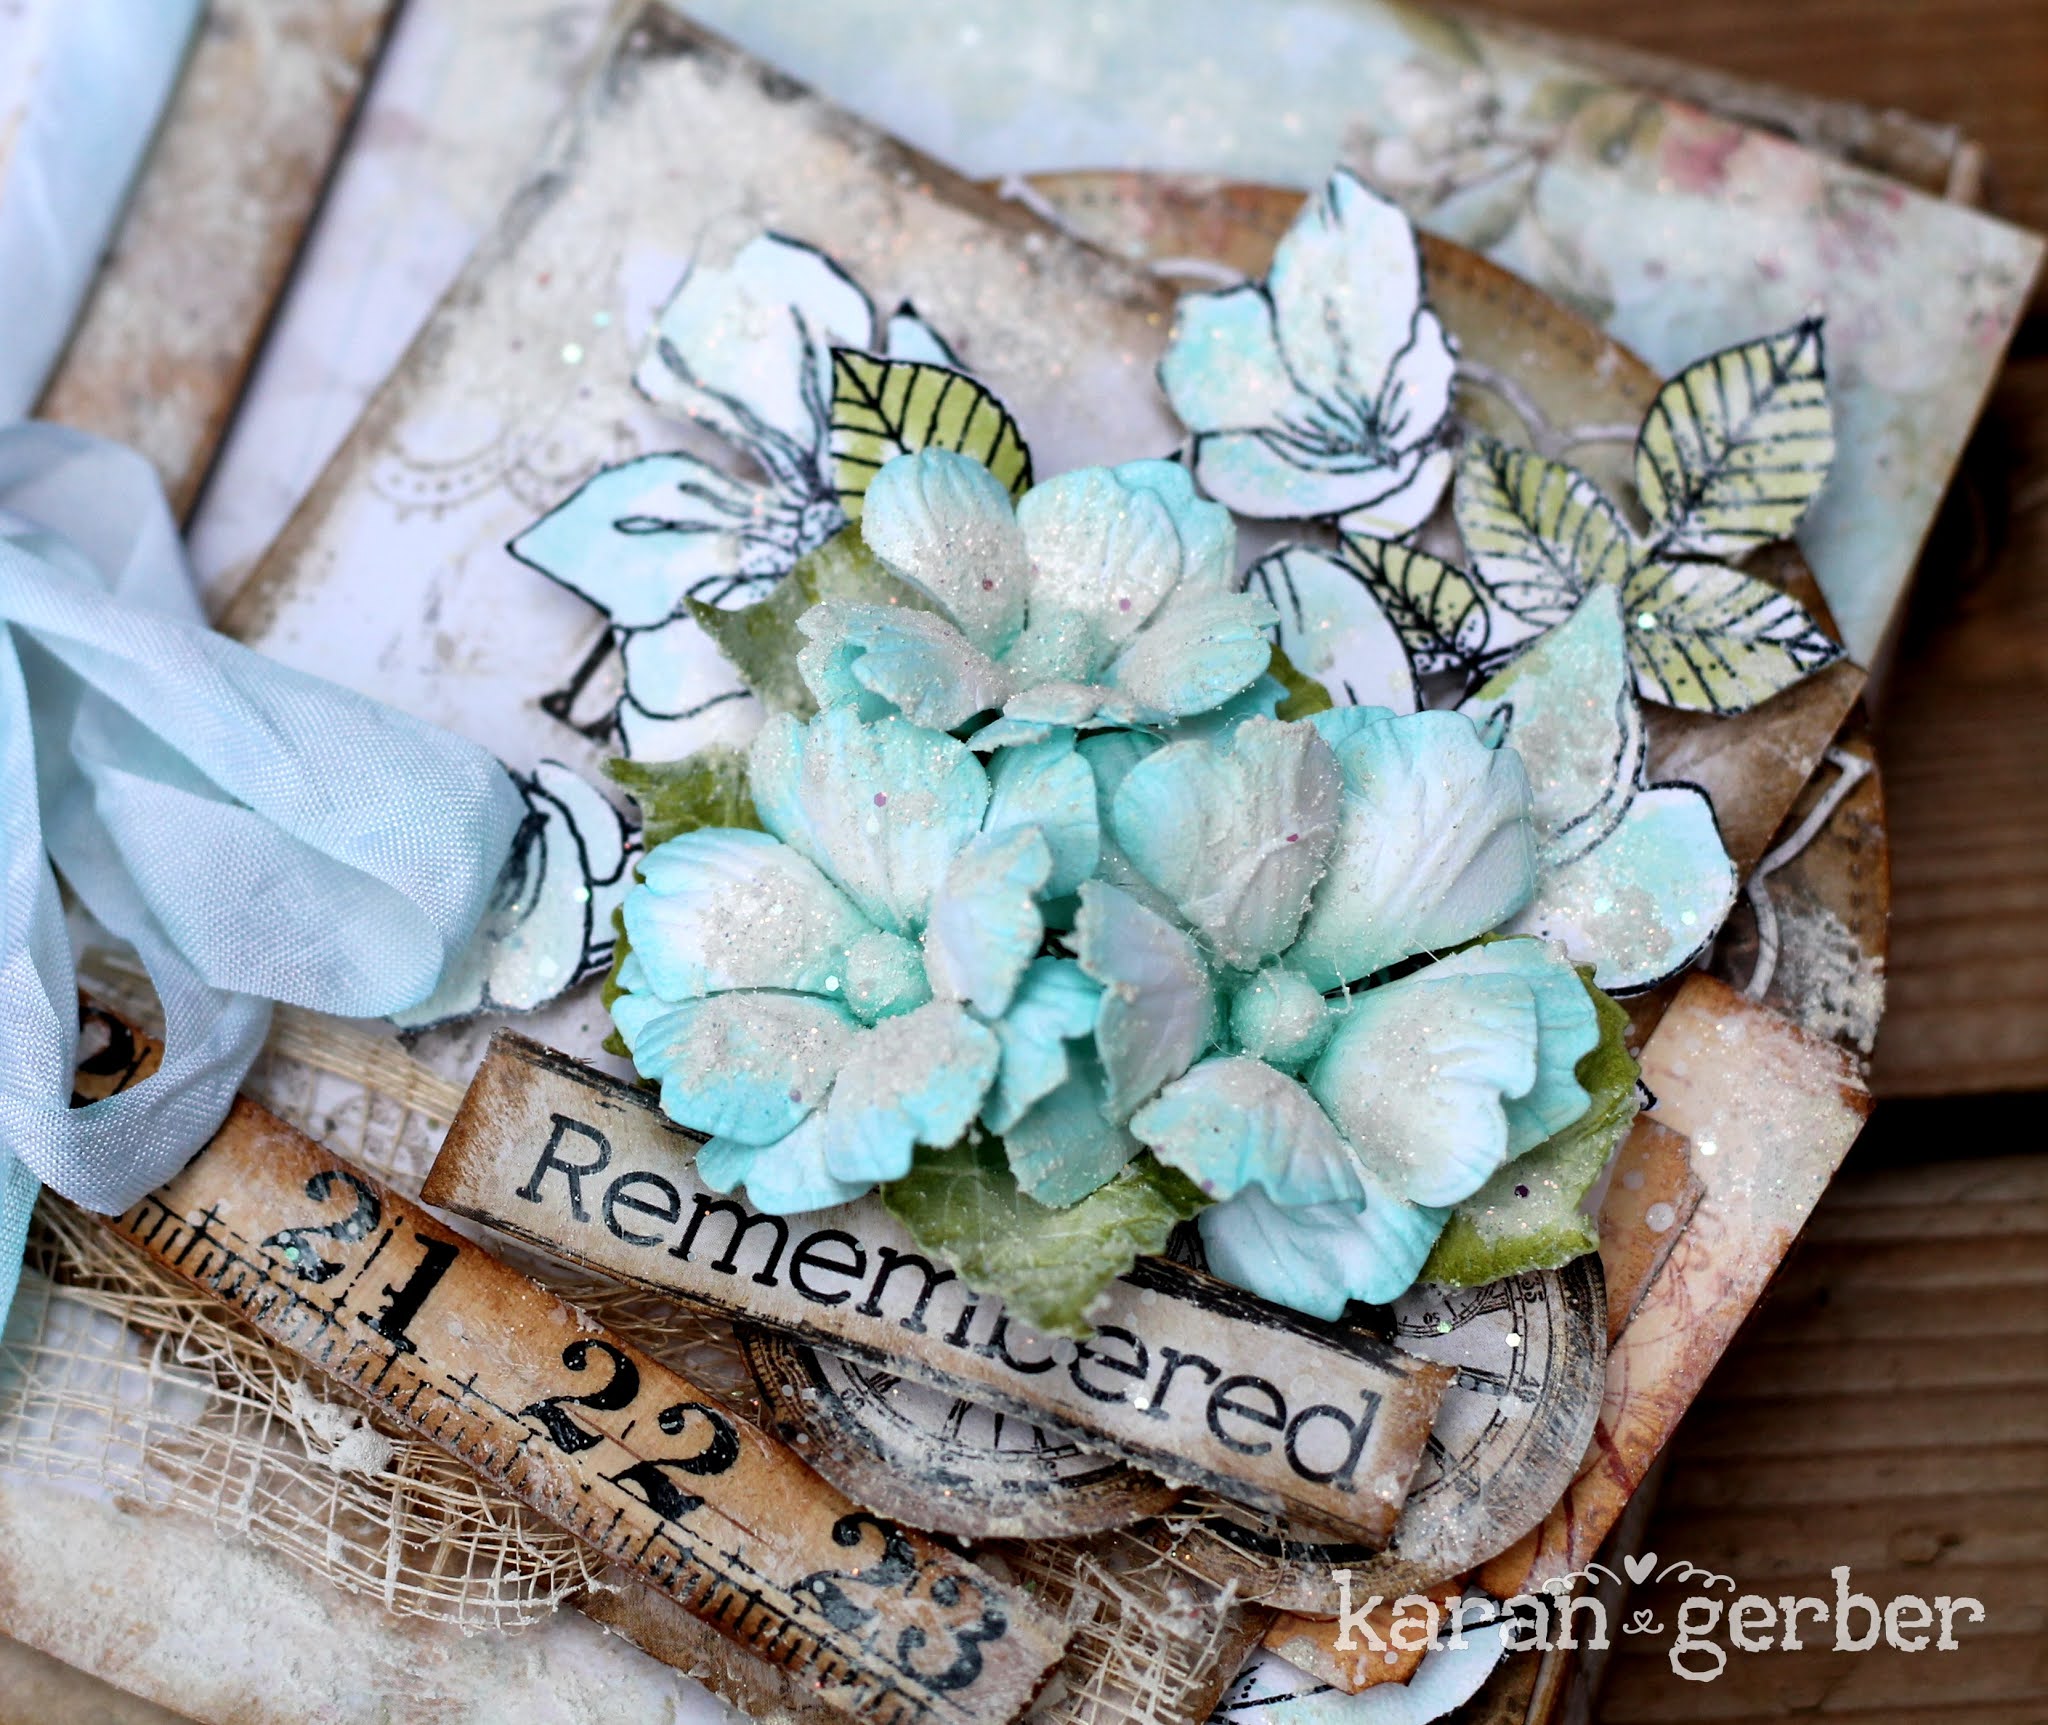
Good Morning Friends and welcome. It is Karan here sharing a card with you and it is designed using Florals 13.
Here is how I began creating my card.
I started by selecting some papers and using dies from the Stitched Indented Rectangles, I love adding layers to my cards and this is a great and easy way to do that.
I then used the stitched circles and cut a sentiment, matting it in a coordinating paper and matting it on the color I used for my base
Using Soft Finish Cardstock die cutting three sets of each size as I wasn’t sure how many I would need.
Coloring the florals with Victorian Velvet and the leaves with Peeled Paint Distress Ink, I set about assembling my florals.
Assembling the card and tucking in the leaves in and around the flowers.
Here is a side view of the card and once completed I decided to add some snow paste to detail the florals and leaves, I find it gives it nice texture too. I used stamens to my centers.
I love how this turned out and I would love to see your take on Florals 13.
Good morning! I am back today to share my nest layout I created for ECD!
To create this layout Step 1 – Cover a 12×12 sheet with clear gesso and allow to dry or heat set. Distress the edges of the paper
Step 2 – use your favorite ECD to stencil (I used one from the happy patterns) and texture paste Step 3 – use your Watercolor Palette to highlight the stenciled image Step 4 – use a fan brush and create a splatter effect over the stenciled image
Good morning! I am so excited to share my next layout with you! I understand many people avoid using flowers on layouts with masculine photos but I do not! I use flowers on projects about my husband and sons all the time!
To create this layout; Step 1 – Cover your background paper with clear gesso and allow to dry.
Step 2 – using your favorite ECD stencil mix texture paste with your favorite colorant. I used a stencil from the Happy Patterns set and texture paste with brown brusho powder
Step 3 – using double sided sheets adhered to cardstock, die cut a mandala, elegant ornament (and keep the circle from the middle), 5 small stitched circles, the strip and 2 flowers ( I used the florals 13 and 10) Step 4 – Mix together 2 silk microfine glitters that coordinate with your paper in equal amounts. (I used chocolate and blue) then use the glitter on the die cuts from double sided adhesive
Step 5 – Die cut 9 flowers from coordinating cardstock. I used the florals 8, 1, 11, 2, 13, and 10, ink, mold and assemble Step 6 – Die cut a lacy leaves and cut them apart Step 7 – Die cut 2 bubbles
Step 7 – Die cut the sentiment from the Sentiment Strip and assemble Step 8 – Assemble everything as shown
I normally do not take photos in direct sunlight but I really wanted to show how beautiful the glitter looks!
Good morning! I am excited to share TWO layouts I created.
To create this layout: Step 1 – Distress the edges of a 12×12 sheet of paper (I used a sheet from the Summer Art paper pack) and a photo mat. Mat your photo
Step 3 – Die cut a Mandala and cut in half and a filmstrip from the Planner Filmstrip and ink or paint the edges Step 4 – Die cut 3 ferns from Ferns and ink or paint edges
Step 5 – Die cut the tab from the Planner Filmstrip and adhere to the photo and mat
Step 6 – Die Cut 2 small filmstrips from the Planner Essentials 24 and ink or paint edges Step 7 – Die cut 10 flowers using your favorite ECD floral Die. Ink, mold, and assemble those flowers. I used Florals 8, Florals 3, Florals 13, Florals 11 and Florals 2 Step 8 – Adhere everything as shown
Now for my second layout:
To create this layout: Step 1 – cover a 12×12 sheet of soft finish cardstock with white gesso and allow to dry or heat set Step 2 – using the Watercolor Palette paint along the tears and into the paper as light or dark as you like
Step 3 – tear two strips pf each side of the paper Step 4 – tear 4 pieces of paper long enough to be placed behind the tears of the cardstock. I used the Reminiscence The Book 2
Step 5 – Die cut 13 flowers and 6 Maple Leaves. I used Florals 10, Florals 11, Florals 13, Florals 2 and Florals 8 Step 6 – Using your water color palette paint then mold and assemble your flowers Step 7 – assemble as shown and add your title
Hello Friends and Welcome to the EC Designs Blog. It is Karan here to share a project with you.
I know it has been awhile since i have posted crafty projects with our big move almost behind us, i am slowly getting back to creating. My first project is using their floral stamps and beautiful floral dies creating a gorgeous mini album.
My first project back is Designed using Florals 13. Which i have shaped into Wild Roses. I matched the color of them with the paper i used in my project. Using a foam bud as my center.
Stamping the Blossom set out on Soft Petal Cardstock from Elizabeth Crafts with black archival ink, i decided to use my water brush and dab color from the same pad i used to create my florals. Salvaged Patina Distress Ink.
This project is designed as a mini folio on 49 and Market Accordion Flip Fold which comes with their new album as an insert. I thought it would make a perfect mini.
The inside i still want to decorate but my new scrap space is very much in boxes, but i promise i will add more photos when i get to my Planner dies.
I hope you have enjoyed my share with you today and I have inspired you to create your own beautiful mini albums.
Good morning! Laura here today to share my next layout I created for Elizabeth Craft Designs! This is our youngest son on the day of his prom!
To create this layout: Step 1 – rip a piece of your favorite ECD paper about 4 -5″ wide, then wet the edges and roll them Step 2 – from the leftover sheet rip a piece for the side 7″ long and 1 – 1.5″ wide Step 3 – cover your cardstock background and the 2 pieces of paper your tore with clear gesso – allow to dry then adhere like shown
Step 4 – use your favorite ECD stencil and your favorite paste randomly around your paper – I used the Pattern Stencil Pack and allow to dry or heat set Step 5 – die cut 9 of your favorite ECD flowers, ink, shape and assemble. I used the florals 1, 3, 4, 6, 8, 10, 11, and 13. Here are some close ups of some of the flowers
Step 6 – Die cut and ink your favorite leaves and branches – I used the Lacy Leaves and Ferns.
Step 7 – add Leaves and branches and flowers into clusters as shown
Step 8 – Die cut and ink your title and distress the edges – I used the Sentiment Strips. Step 9 – cut two photo mats one slightly larger than the other then ink and distress the edges Step 10 – adhere everything as shown and add seed beads and art stones


