

Hey Friends! It’s EK and today I show a way to stretch your crafting supplies to create new looks. I absolutely love the Oyster Shell Card Frame die set, and wanted to see if I could create a new look using the fantastic pattern. You will be surprised at how easy it is to create this look!
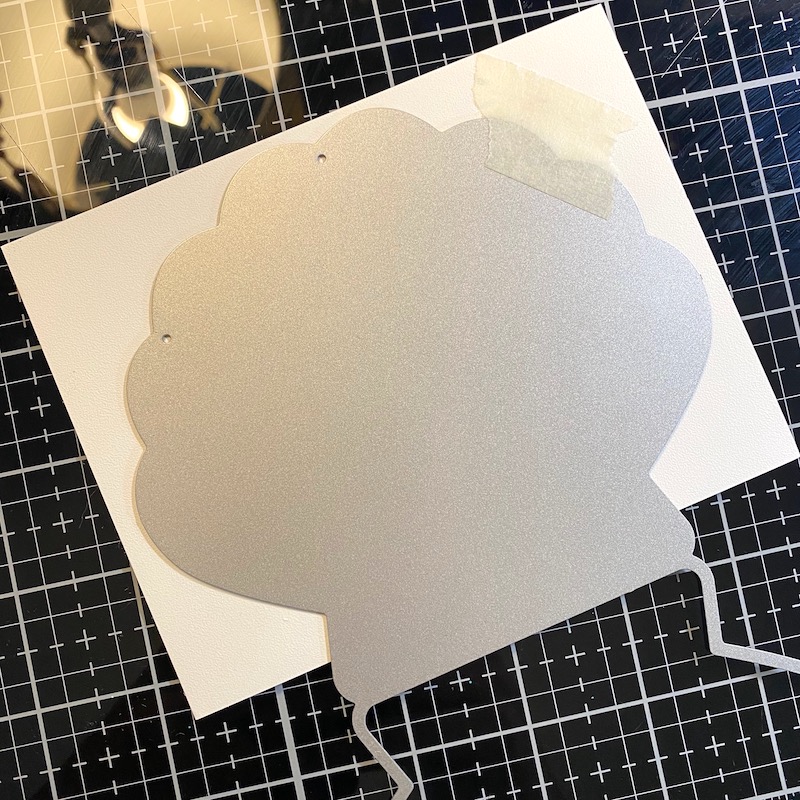 Step One: Trim a piece of 90lb Soft Finish Cardstock to 4.25×5.5 inches. Secure the Oyster Shell Card frame to the cardstock.
 Step Two: Run the cardstock and the Oyster Shell Card die through a die cutting machine sandwiched with the an embossing pad, so the shell does not cut the paper and instead just embosses onto it.
 Step Three: Blend distress ink onto the Soft Finish Cardstock. I used Dried Marigold, Abandoned Coral, and Tattered Rose.
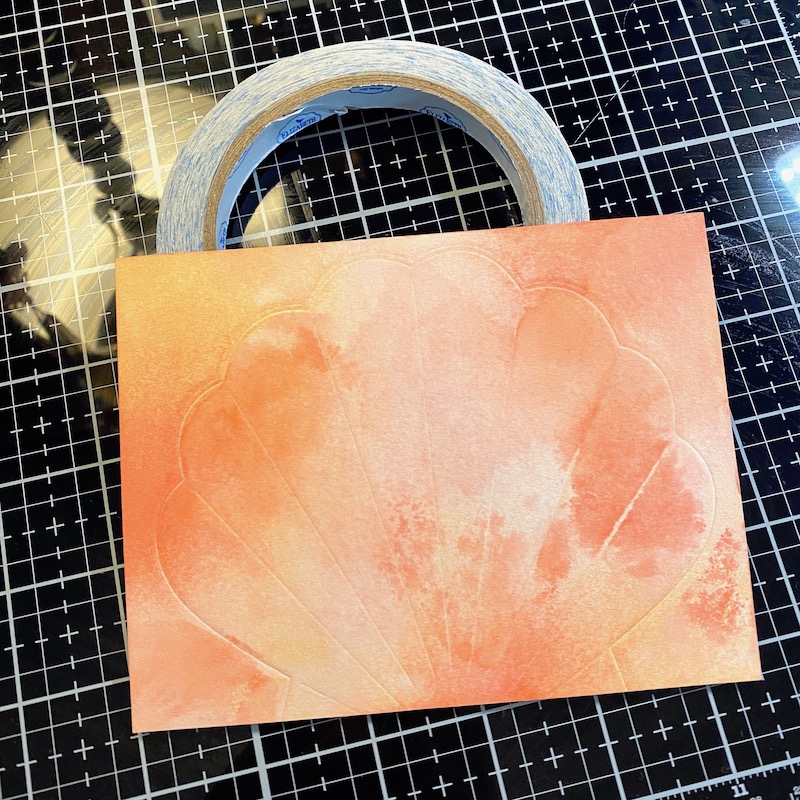 Step Four: To break up the blended ink, smooch the wet distress inks onto the card over the original blended ink and let dry. I used the same colors.
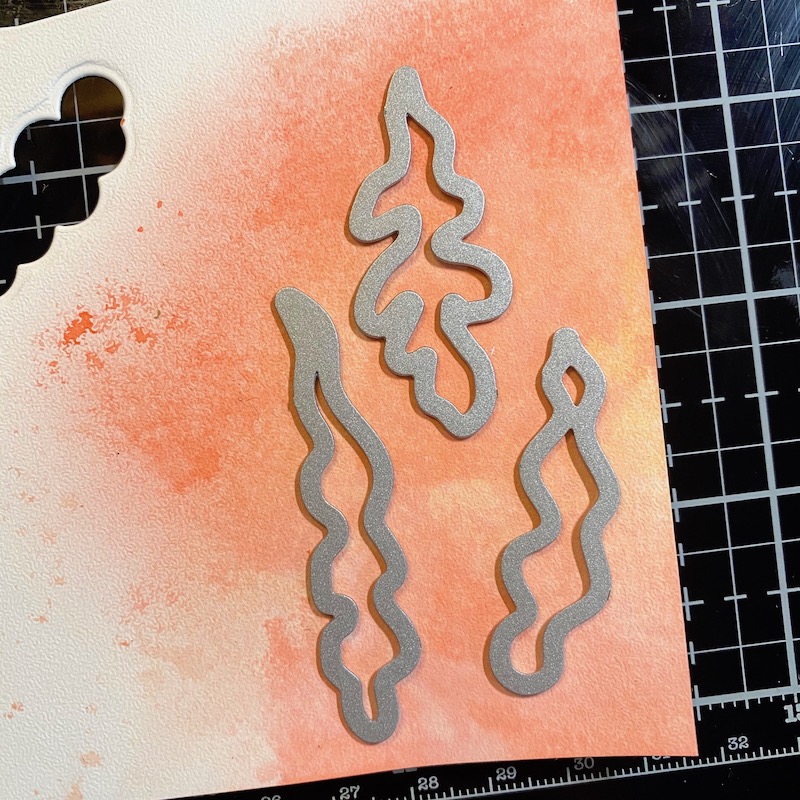
 Step Five: Die cut the pieces needed to create the treasure chest from the Sea Weed die set out of 90lb Soft Finish Cardstock.
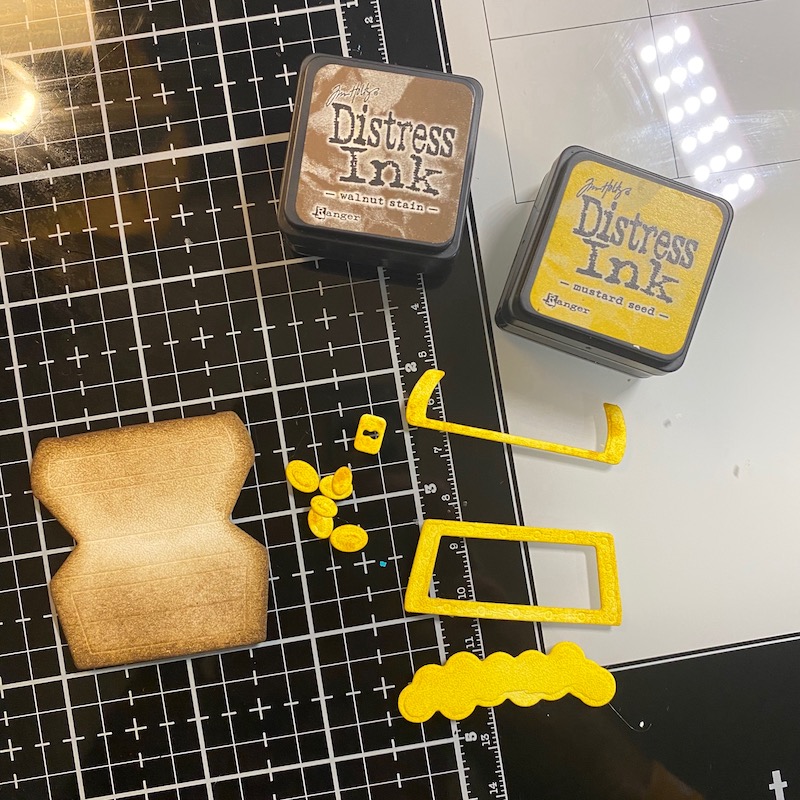 Step Six: Blend ink onto the die cut pieces. I used Distress Ink in Walnut Stain for the chest and Mustard Seed on the coins and chests details.
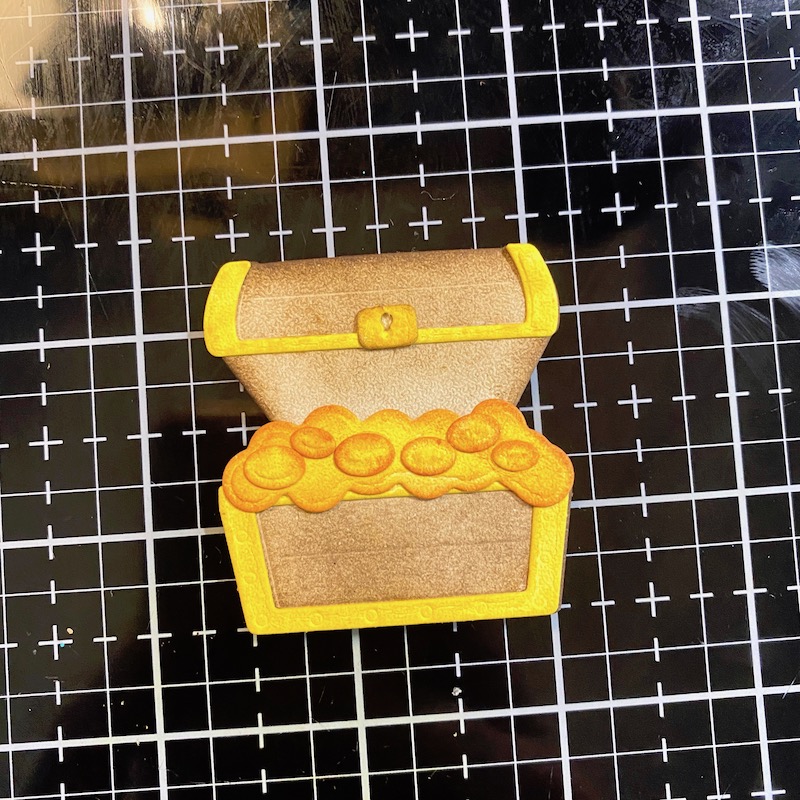 Step Seven: Using Kids Choice Glue adhere the pieces of the chest back together.
 Step Eight: Die cut some ocean grass from the Sea Weed die set using a piece of 90lb Soft Finish Cardstock blended with the same colors used on the sea shell.
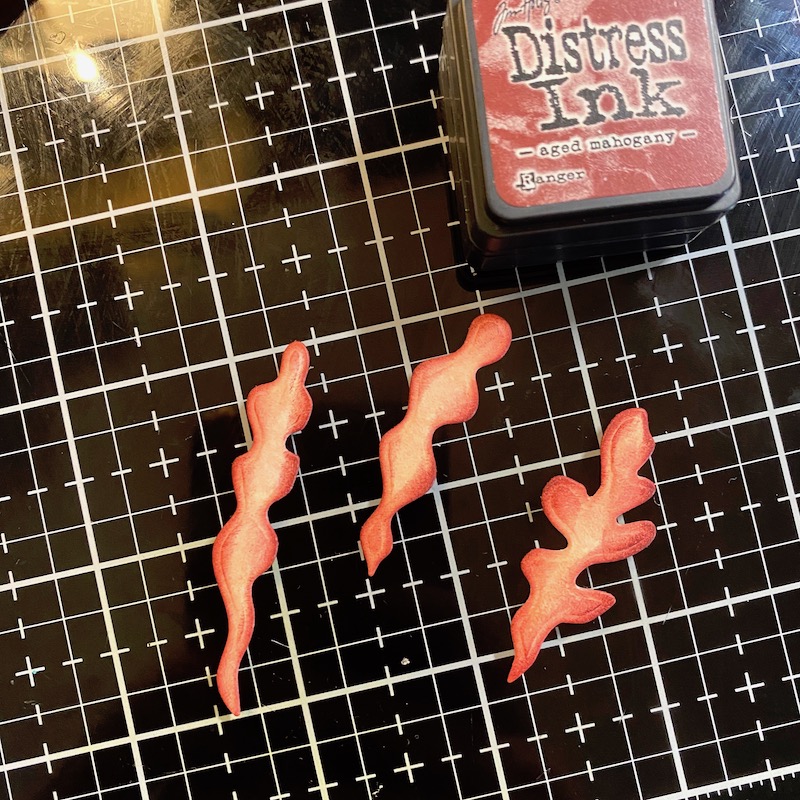 Step Nine: Darken the sea week with more ink several values deeper. I used Aged Mahogany Distress Ink.
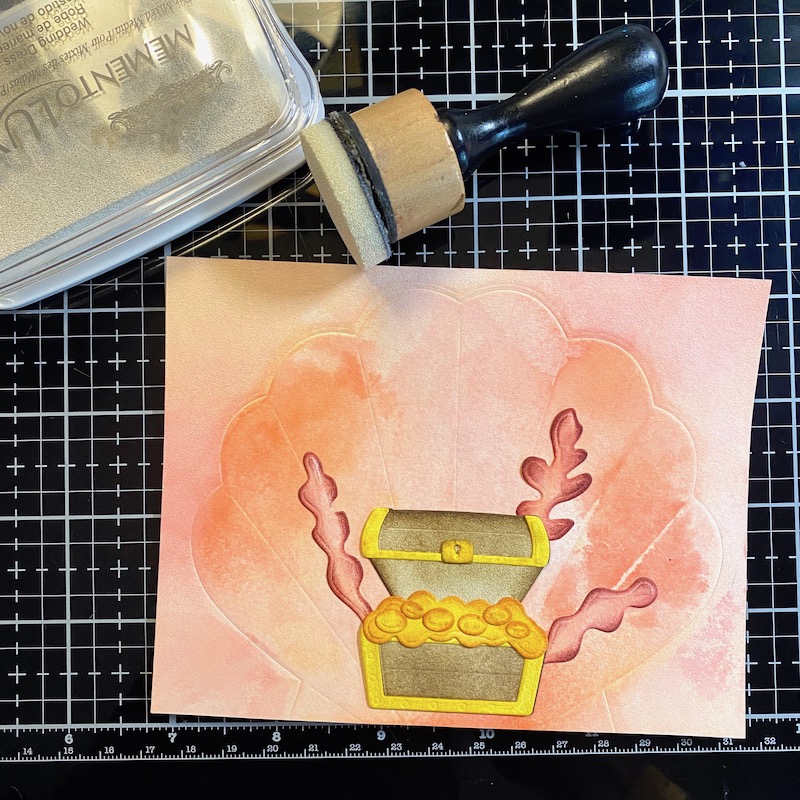 Step Ten: To help pop the inside of the shell, blend some white pigment ink around the edges. Adhere the treasure check and sea weed to the center of the shell using 3mm Clear Double Sided Adhesive.
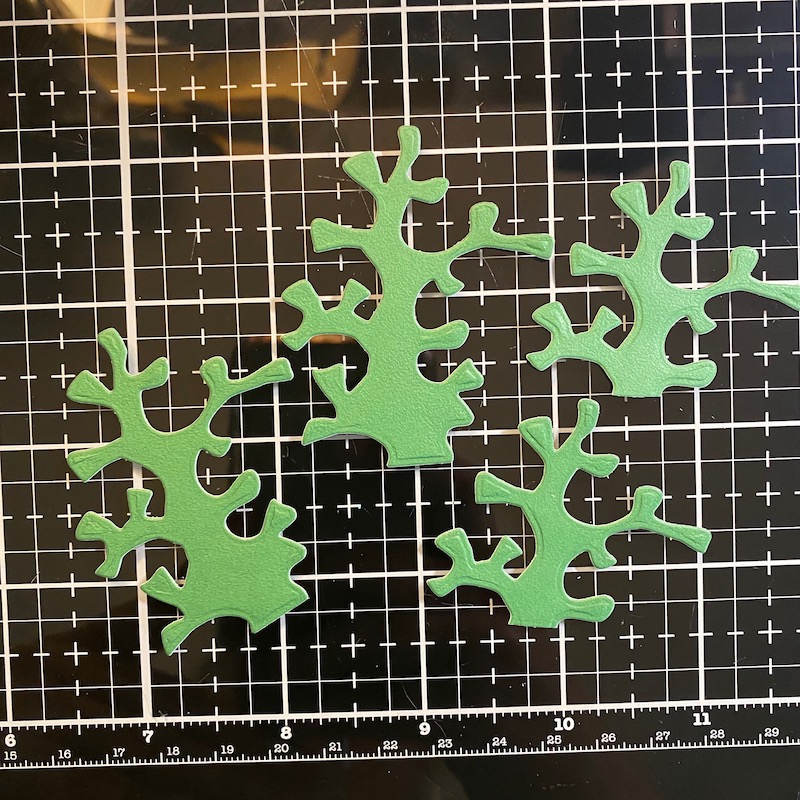 Step Eleven: Die cut the large coral die from the Sea Weed die set out of True Green Soft Finish Cardstock.
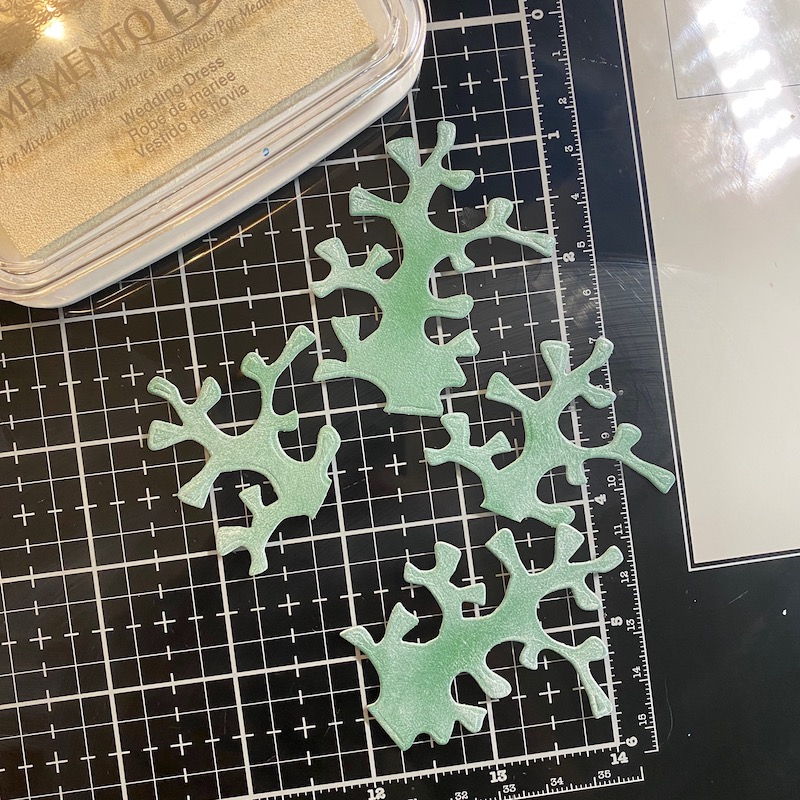 Step Twelve: Soften the color with blended white pigment ink.
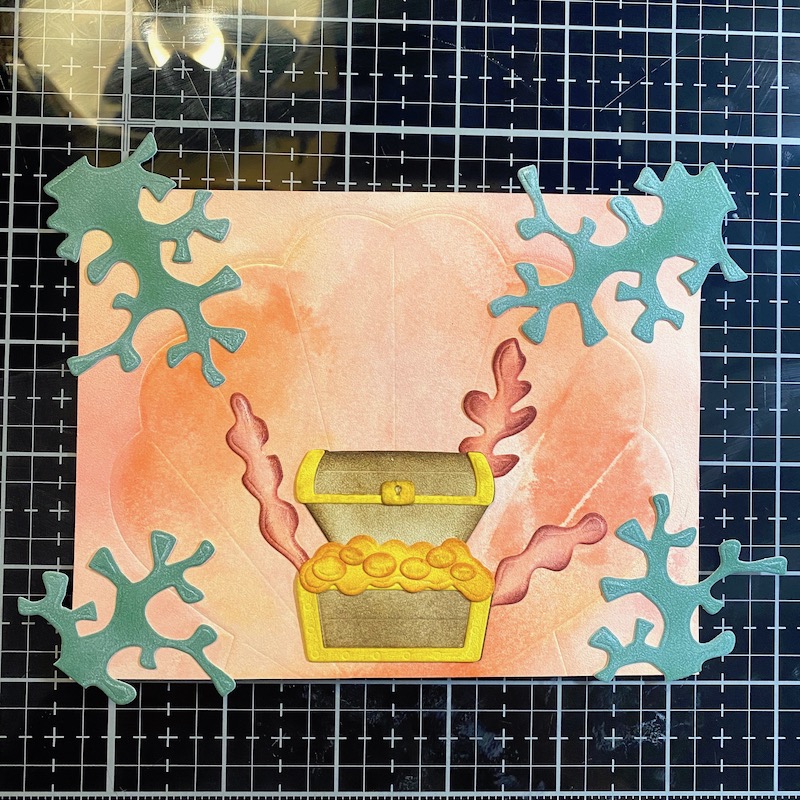 Step Thirteen: Add the coral die cuts to the corners of the shell embossed cardstock. Let it over lap the corners. Trim the excess from the cardstock.
 Step Thirteen: Stamp a sentiment in colored ink. I used a sentiment from the Zen Sentiments stamp set and stamped it using Abandoned Coral Distress Oxide.
 Step Fourteen: Adhere the embossed shelled cardstock to an A2 card frame.
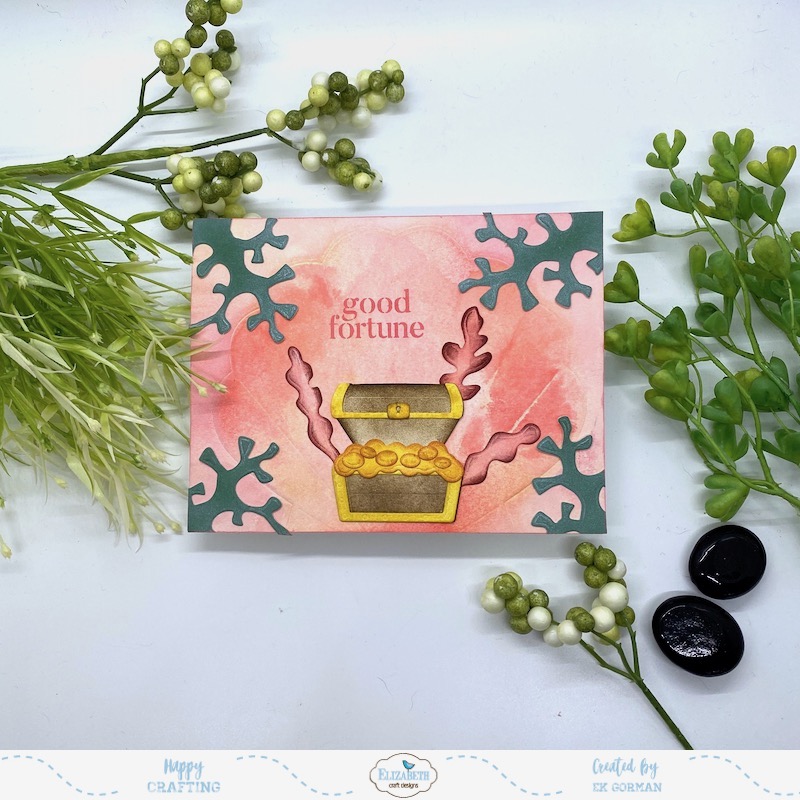 Do you emboss your die sets onto cardstocks? If so, let us know you favorite ECD dies to use to emboss. Until then, happy crafting.


