Hello everyone and happy November! It´s Sanna here again with another card tutorial share. This time I´ve got something fun to share: a clean and simple card that originated from last months card project´s leftover pieces. This is a fun way to use up paper strips and create cool looking cards. Hope you like the idea!

Here is how I created this card:
Step 1: I had some colored paper strip (see my October card tutorial share) leftovers from the previous cards, so I took the Classic Christmas Special Kit snowflake die and arranged the snowflakes on a slimline card sized piece of white cardstock and die cut them with my die cutting machine.
Step 2: I placed the die cut snowflakes aside and adhered the colored paper strips behind the negative snowflake areas to create the striped-snowflake-look.
Step 3: Next I took some pearlescent blue watercolor and added random color splatters onto the white area of the background for additional detail. You could also use regular watercolors here or add ink spray splatters, for example. Whatever you have available.
Step 4: Next arrange the die cut snowflake pieces into the center of the card in a row and adhere them on place.
Step 5: Take a kraft cardstock piece and stamp a Christmas sentiment – stamp comes with the kit – and heat emboss it with white embossing ink. Adhere on place with 3D foam for additional dimension.
This is such a fun way to make a cheerful card. By the way, you could also replace the inked paper strips with leftover patterned papers. That would also create a fun look! For additional information, I´ve recorded a short video to give you a better idea of the steps. Hope you enjoy it!
I don´t know about you, but I just love playing with this Classic Christmas Special Kit so much! See you again next month with another card tutorial.
Take care,
xxx, Sanna
Supplies:
Elizabeth Craft Designs:

Other:
Brusho Crystal Colour – ColourCraft
Sizzix Big Shot A4
Pearlescent watercolors
Paint brush
Heat tool – Ranger Inc.
White embossing powder – Ranger Inc.
3D-Foam


 Hey Friends! It’s EK, popping in today to share a new card making project using Ilse and Charlene’s stamps and dies. I have seen so many amazing projects using these products in both planners and art journals, and was wondering if I could create something easily awesome on an A2 card. With the combination of ECD’s Watercolor Palette, I think i came up with something pretty sweet!
 Step One: One a piece of Watercolor Paper, watercolor an ombre of blue from the Watercolor Palette. Let dry.
 Step Two: On another piece of Watercolor Paper, stamp using watercolor safe ink several images from the Spring Fling stamp set.
 Step Three: Using the Watercolor Palette and a very loose hand, watercolor the stamped images.
 Step Four: Fussy cut out the images.
 Step Five: Using the Bubbles die, die cut the ombre watercolor paper.
 Step Six: Adhere both the positive and negative Bubbles die cut onto an A2 card frame using a liquid adhesive. I used Kids Choice Glue.
 Step Seven: Adhere the fussy cut Spring Fling floral images onto the card frame.
 Step Eight: Die cut the sentiment from the ombre watercolor paper using the Words 2 -Thinking of You die set. I die cut each word three times so that the sentiment would have dimension. Adhere the words on top of each other.
 Step Nine: Adhere the sentiment onto the card frame.
 I Just love how the Bubbles die creates such a unique and interesting background with very little effort. If you haven’t check out the full line of Ilse and Charlene’s stamps and die make sure you pop over. It isn’t just for planners or art journals. It is perfect for all your crafting projects!

 Hey Friends! It’s EK and I am back today with a brand new card where I not only mix coloring mediums, but also mix different releases. Today I have combine both an old stamp set and a new die set. I thought it would be really fun to take one of Joset’s recently released die sets and combined it with a separate older line stamp set. Together, the two, I think the the two make the perfect pair. I just love how fresh and fun Joset’s Mermaid die set looks with the Color My Flowers stamp set.
 Step One: Die cut the Mermaid die set from some 90lb Soft Finish Cardstock.
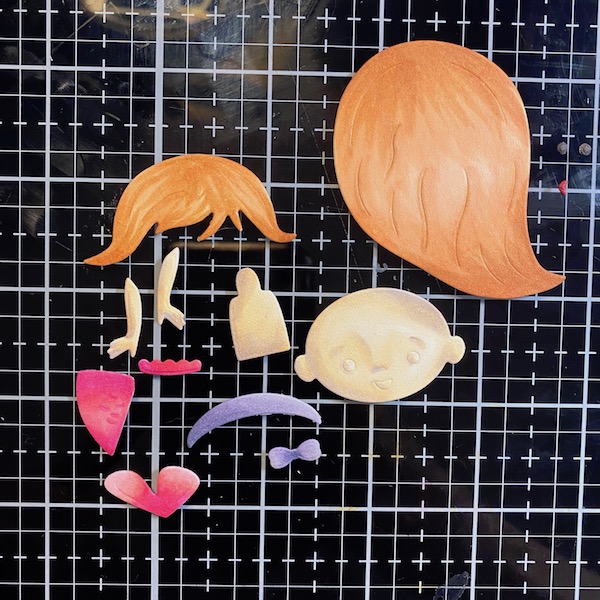 Step Two: Using alcohol markers, color the different pieces of the Mermaid. I used my copics. Using Kids Choice Glue, assemble the pieces to make the mermaid.
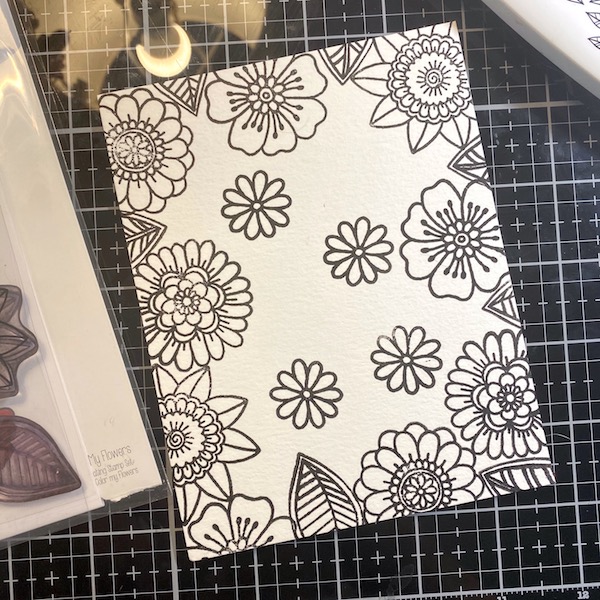 Step Three: On a piece of watercolor paper, stamp the flowers and leaves from the Color My Flower stamp set around the edges using a watercolor safe ink. Float a few time the smallest flower in the middle of the cardstock.
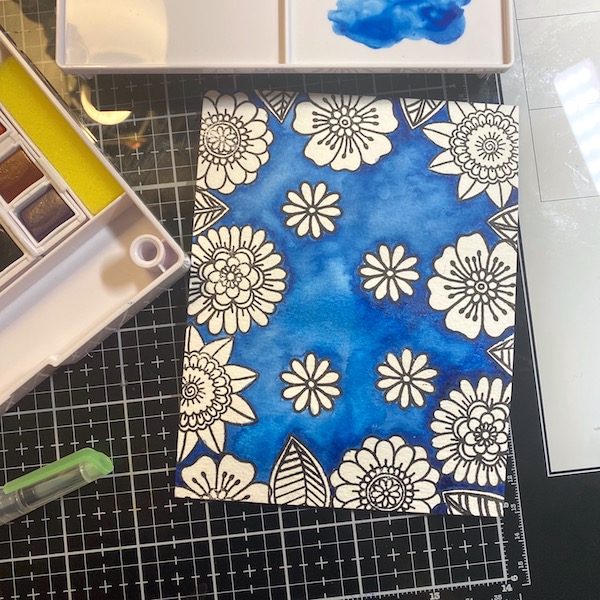 Step Four: Using ECD’s new Watercolor Pallette, watercolor the background of the cardstock with Prussian Blue. Let dry.
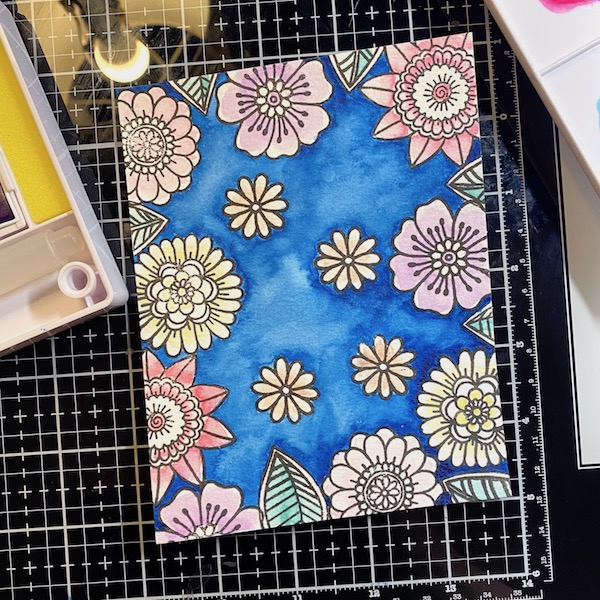 Step Five: Using a combination of other watercolors, paint the flowers and leaves, keeping it light and pale.
 Step Six: Stamp a sentiment from the Splish Splash Sentiments stamp set onto the card using black ink.
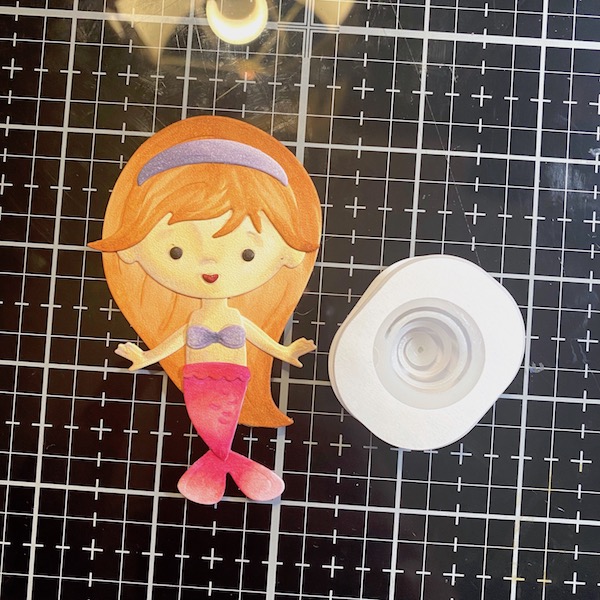 Step Seven: For some extra fun, adhere an action wobbler onto the back of the mermaid.
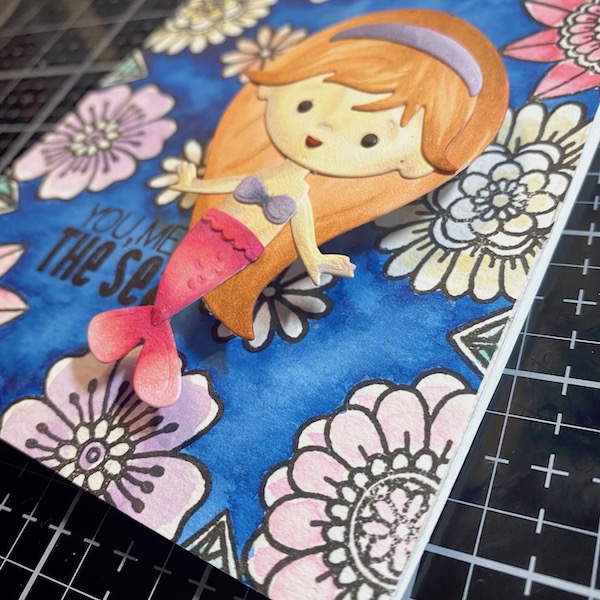 Step Eight: Using 10mm Clear Double Sided Adhesive, adhere the watercolor paper to an A2 card frame. Then adhere the action wobbler to the card frame.
 What do you think? Do you like how the old and the new combine to make a brand new look. Let me know in the comments below. Until then, happy crafting.


