Browsing Category

Fantasy Flowers

Fantasy Flowers

Spring is in the Air

April 1, 2022

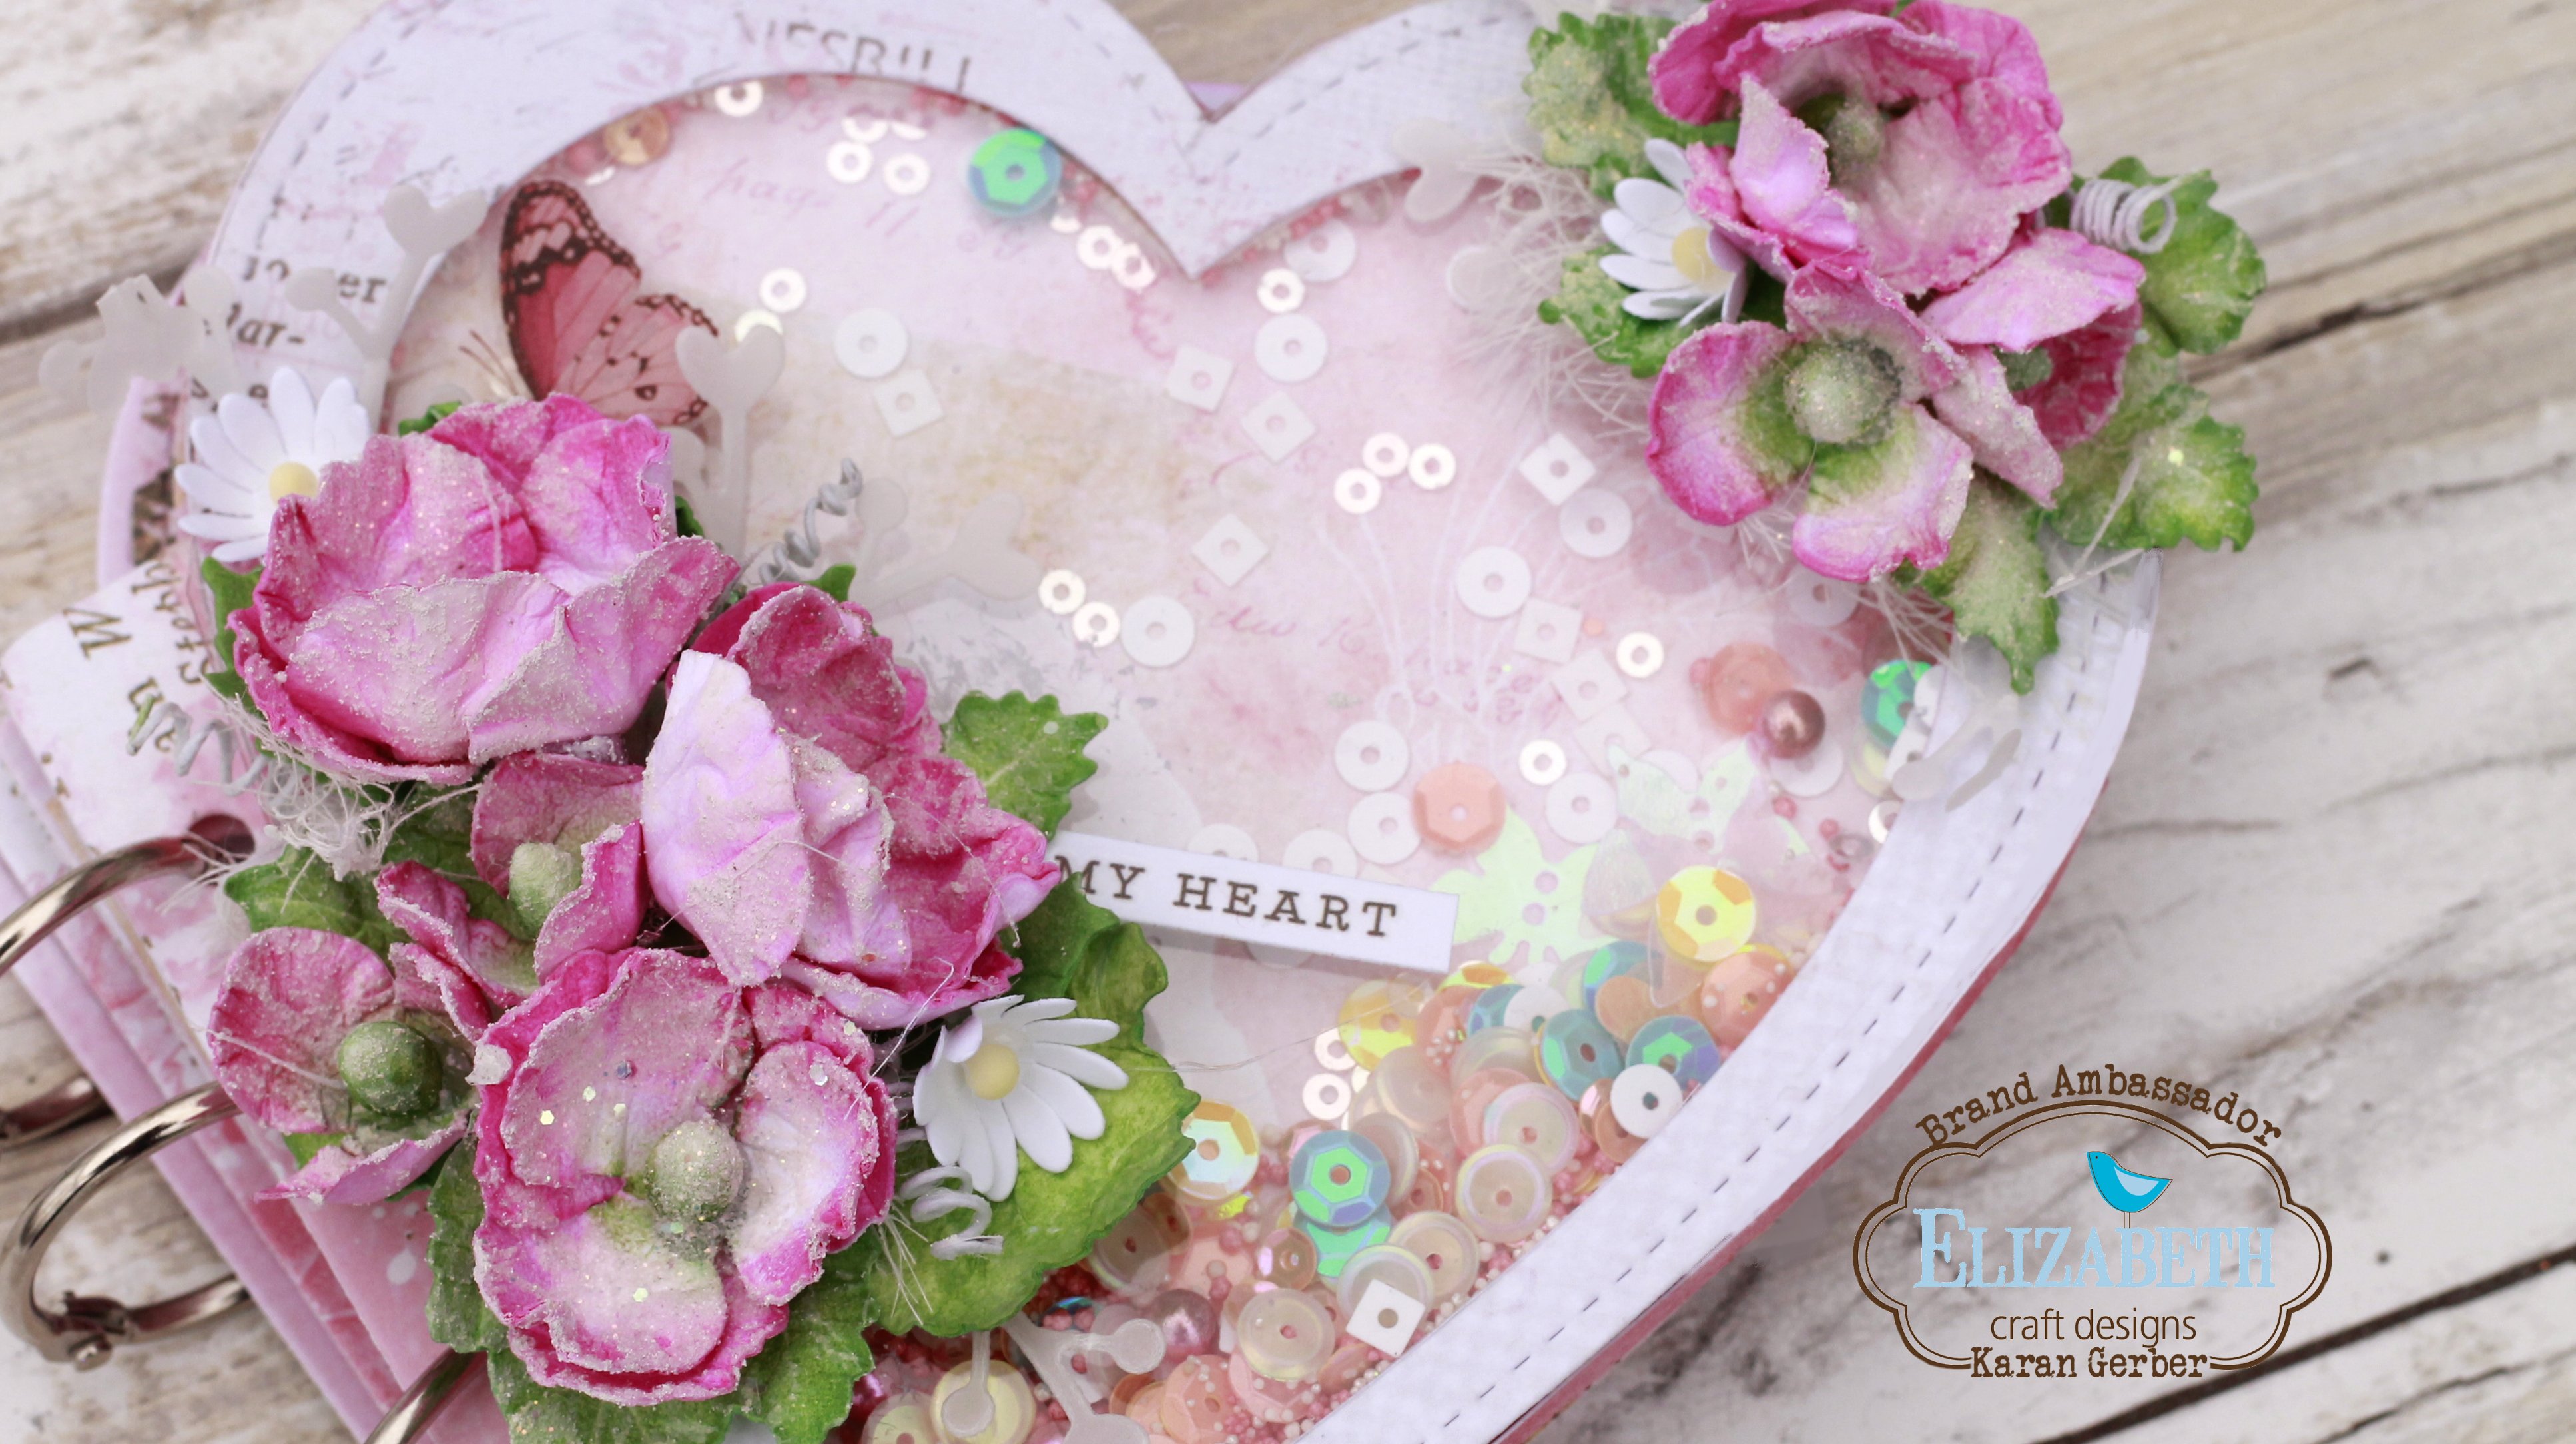
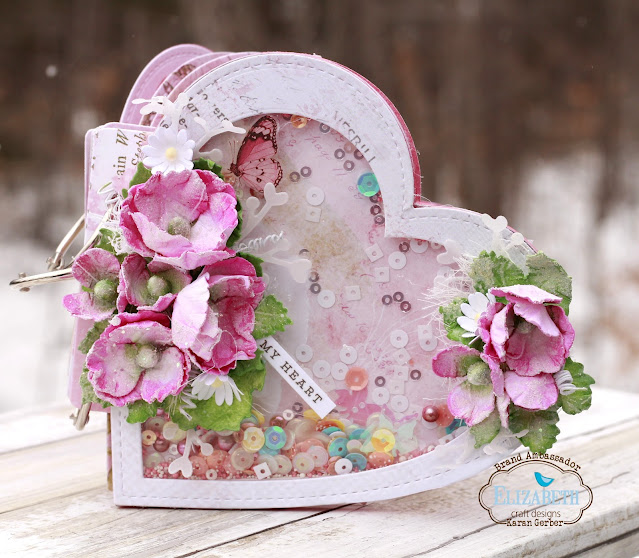
Hi Everyone, It’s Els here and it is my turn again to give you some inspiration. I made a spring card, you can use it for many occasions. Below you will find the step by step instructions, I hope you will give this card a try………

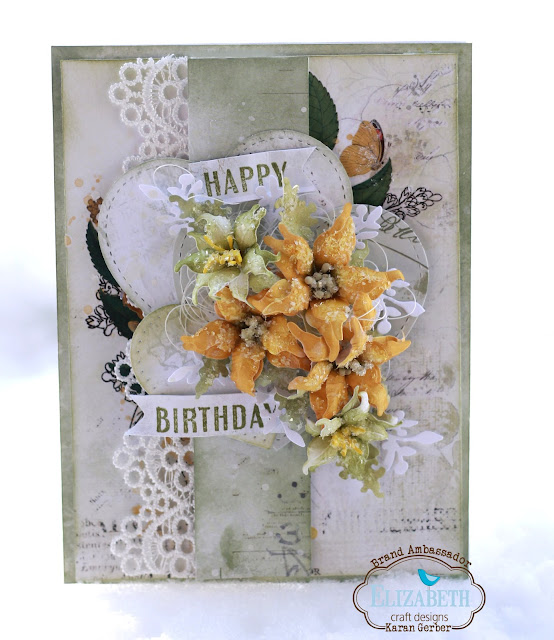
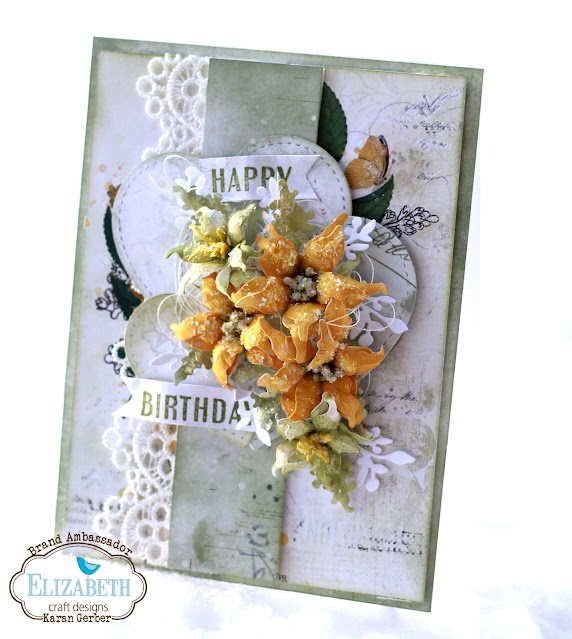
This is the card I made for you today, I hope you like it so let’s make it…………………

Cut out 10 of the big flowers, 5 of the middle ones and 5 of the leaves and 1 fern.

Color them with Ink in the color you like, this is how I did it.

Spray the flowers lightly with water on the front and shape them with a shaping tool from the outside to the centre, then turn them and press in the centre.

Now Glue 2 of the flowers on top of eachother and place stamens in the centre.

For the background I used alcohol inks on Yupo paper.

Cut a base card at 81/2 – 81/2 and fold it in half, then take the background and cut it in 3 different sizes and glue them down with a little bit of space in between.

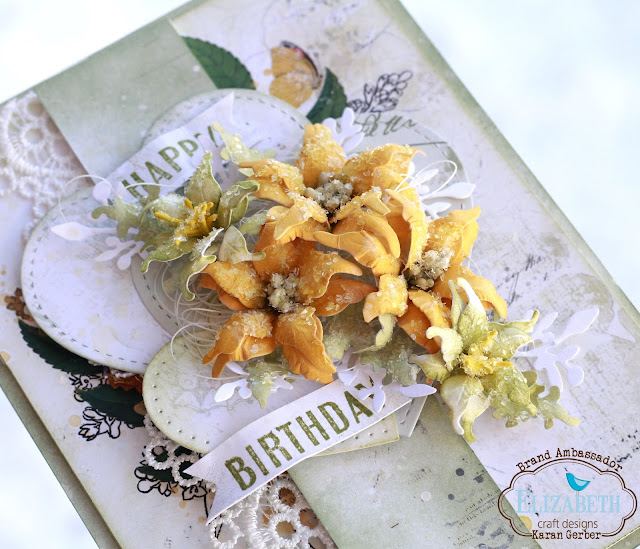
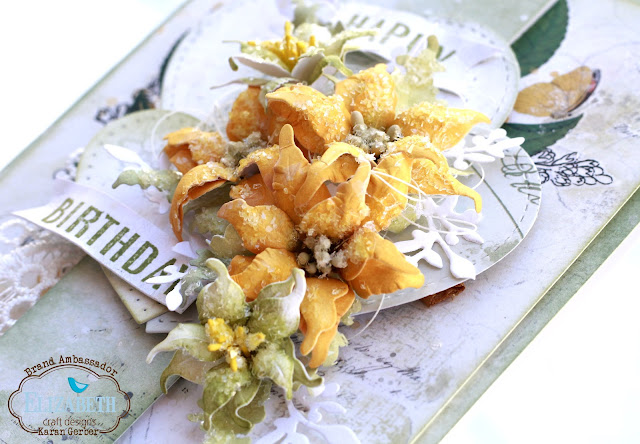
First put on some leave gold on the card, Color some Cheesecloth and place a piece on the card, then start to build your flower cluster, start with the fern and then first all the big flowers, later you fill it up with leaves and the other flowers.

Now place the leaves and the other flowers.

To Finish your card you can place a butterfly and some nuvodrops. I hope you will give this card a try, you can also use it for Birthdays, and Mothersday offcourse.

Elizabeth Craft Designs products used:

Other products:

  • Yupo paper
  • Alcohol Ink
  • Stamens
  • Nuvodrops
  • Ink
  • Butterfly image
  • Cheesecloth
  • White cardstock basic card
Fantasy Flowers Paper Flowers Sidekick Essentials

Gift Box with Handmade Roses

March 3, 2022

Hello friends and welcome! It is Karan Gerber here to share a gift box i created and i have adorned the cover with Handmade Roses using Florals 8.

Cutting out 8 sets of florals 8 and plenty of leaves, i set about coloring these with Tea Roe Archival Ink and Magenta Hue Archival Ink. 

the inside of the box, i created a card, using the cutout from the top of the box which is Sidekick Essentials 5. I matted the cut out in gold mirror paper long with the sentiment from the paper collection i used.

The top of the box, i covered with Acetate and used the Floral Burst Background to do a die cut in Gold Mirri and I love how this turned out, it looks so elegant.  

I hope you enjoyed my project today and until next time

Happy Scrapping!


Cardmaking Fantasy Flowers Paper Flowers

Happy Birthday Card

February 16, 2022

 Hello Friends and welcome back. It is Karan Gerber hosting the blog today and I am sharing a card using Florals 12 to create some beautiful Lilies. Lilies remind me of spring and with the thought of warmer weather soon to come, i wanted to create some cheery florals. 


I cut 6 large, 6 medium and four small from florals 12 and colored them with Fossilized Amber Distress Ink. I cut the leaves from Florals 1, and colored them with Bundled Sage. 


I also cut out three hearts from the Stitched Hearts and lightly inked the edges. I cut two sets of the Blooming Branches and cut them apart tucking them in around my florals to add more dimension.

The smaller florals i also colored with Bundled Sage, layering them together and using yellow stamens in the centers. 


Using Stamens from Dress My Craft i used them in the center, using my hot glue gun to secure them. To get that beautiful frosted look i used Diamond Dust along with Rock Candy Crackle, which dreis clear and allows the frost to shine through.

I hope you like my card and my take on lilies using Florals 12, i hope you give these florals a try. 
Looking forward to seeing you again, until next time, Happy Scrapping!


Fantasy Flowers Paper Flowers Planner Essentials Sidekick Essentials

You Have my Heart

February 3, 2022

Hello Friends, welcome back, it is Karan Gerber on the blog today to share my first project for February. With Valentines coming soon, I had an idea to create a mini album from the Heart Shaped Dies.

I used Florals 4 on the Cover, coloring them with Picked Raspberry and Mowed Lawn Distress Inks. Here are some details of the mini album I created.

I created a shaker box on the front cover using acetate under that fist paper layer and then adding two layers of foam tape. The side of it actually looks like one of those heart shaped candy boxes you see. 

Inside front cover and first page. Here I used Planner Filmstrip (1656) and die cut the smaller frames from that set and die cut a heart. The sentiments are from the paper pack. 
To get the pages to work in an album, I die cut the page connector from Sidekick Essentials 16 and attached it to the back of each of the pages. 

For page 2 and 3 I used Planner Essentials 3 and cut down the photo frame to suit the size of the page. The tag is from Planner Essentials 4 which I basically used as an insert here.

Page 3 and reverse of the tag. Here I used Planner Essentials 2 adding some rubons to the slide in die for the tags.

For page 4 and 5 I used the Planner Film Strip.

Page 6 and 7 which are the last pages of this cute little mini album. I used some heart die cuts, the filmstrip as well as the die cut “You” from Sidekick Essentials 2.

It was a fun little project to do, and I hope you give these heart dies a try to create your own little mini album. 

Happy Valentines & Happy Scrapping!

Until Next time!

Karan

Elizabeth Craft Designs Supplies Used: 

Cardmaking Fantasy Flowers Paper Flowers Soft Finish Cardstock

Welcome to your new home

February 1, 2022

Hello everyone, Els Schutte here with my first blog post on the Elizabeth Craft Designs Blog. I’m very excited to show you the card I made for today’s post. It’s a card that would be perfect for someone who just moved into their new home of with a slight modification just a card for any occasion. Let’s get started!

Welcome to your new home card

Cut Lacy Leaves, Florals 4, Ferns, and the Berry Branch out of the Soft Finish Cardstock, then colour them in soft pink and green Inks. Shape the flowers and leaves and glue the flowers together. Put some stamens in the centre and put laquer on the big knobs and pearl drops on the small Berry branch.

Cut a piece of Soft Finish Cardstock 8 1/2 x 8 1/2 and fold in half, this is your base card. Cut another piece of the same cardstock of 8 1/4 x 4 and put this piece on 3D foam blocks and place on top of your card. Cut the door with the die from the phone Booth set, use the parts from the window as bricks. Start with placing the leaves.

Place the flowers
Place some big knops
Ad some leaves

Cut the berry Branch apart and use them on different spots in the cluster. Use some green Ink to make a shadow on the bricks. Ad a string of pearls and bow and your card is done.

I Hope you will give this card a try, it’s a nice gift if you get new neighbours or someone gets a new Home.

Elisabeth Craft Design supplies used:

Other materials: Ribbon – Pearlstring, Green-Pink Ink – pearl drops and Laquer

Cardmaking Fantasy Flowers Joset Designs Paper Flowers

Shadow Box Lighthouse

January 3, 2022

 Hello Friends and welcome back! its Karan here for my first post for 2022. Im excited to be back as Brand Ambassador and I am sharing another card today

I designed this using florals 1 for the flowers

,

I die cut the Village Edges twice. Using one on the inside of the box, attached to the card base, and one to the frame of the box, 

The front of the shadow box has acetate on it, so i thought the birds would look like they were really flying.

Being on the lake here in Northern Ontario, i love that Lighthouse and felt it would be perfect to create a scene on my card. This is designed on the Beached paper from 49 and Market. 

This is a perfect card for loved ones who might have purchased a cottage or like we have done, retired to the lake.

I hope you enjoy my first project for 2022 and I look forward to inspiring you this year.


A Way With Words Cardmaking Fantasy Flowers

My final ECD design team member post

December 21, 2021

Good morning! I have absolutely LOVED being on the ECD team for past year and half! It has been amazing and I have been so inspired by the amazing people on the team…I hope I have inspired you to create as well!
I mainly create scrapbook layout but once in a while I like to create a card and as it is Christmas time it’s the perfect time to create a card!

To create this card:
step 1 – create you card base using the white Soft Finish cardstock (my card base is 4.25″ x 5.75″)
Step 2 – trim paper to – 4.15″ x 5.5″
Step 3 – fussy cut your sentiment or stamp your sentiment on a piece of paper 2.5″ x 3.5″

Step 4 – using double sided adhesive die cut a poinsettia
Step 5 – use True Red silk microfine glitter on your poinsettia and assemble
Step 6 – add snowflake paste then add some cool diamond silk micro fine glitter

Step 7 – die cut a circle or fussy cut one from the patterned paper and another trim a piece of paper to fit the inside of your card
Step 8 – die cut out of clear double sided adhesive your favorite holiday sentiment and some snowflakes then add glitter!

Again I would like to thank Joset and Els and everyone at ECD for a fabulous 18 months! I will miss you all!
Laura

Cardmaking Fantasy Flowers

Live Simply – Give Generously

September 28, 2021

Hi there,

It’s Tanja here and today I would like to show you step-by-step how to create this flower Pocket card.

Step 1: Die-Cutting

  • die cut the pocket from the Planner Essentials 26 die set and some flowers from the Florals 2 and Florals 3 sets

Step 2: Adding Color

  • color the flowers and leaves with Alcohol Markers
  • add color to the pocket with acrylic paint – run it through your die cutting machine in an embossing folder for the extra woodgrain texture

Step 3: Assembly

  • adhere the pocket to a kraft cardbase sprinkled with acrylic paint and Distress Stain

Step 4: Finishing Touches

  • add yellow Craft Drops to the flower centers and a sentiment from the Tim Holtz Small Talk sticker set

Thanks for stopping by.

Hugs,

Supplies:

Elizabeth Craft Designs:


Other
Alcohol Markers
acrylic paint
woodgain embossing folder
kraft cardstock
Distress Stain
Tim Holtz Small Talk sticker set

Cardmaking Fantasy Flowers

Some Masculine Birthday Cards

September 5, 2021

Karen here today. I recently had an occasion that I needed a birthday card for a 30 year old guy in my life, and I realized how very feminine or young most of my cards are. I decided to challenge myself today to create a few cards for the guys in my life!

To create these cards, I started with an A2 sized card base. This one uses the 90 lb Soft Finish Cardstock. I then used the Stitched Rectangles and some patterned cardstock from the beautiful Worn Wood collection for a card front. The patterned square is from the Summer Art Papers and is cut with a Fitted Rounded Square die. I then cut a slightly larger square using silver cardstock and another one using dark grey for the borders. The sentiment is from the Life is Better on the Farm Sentiments. The embellishment silver leaf is from the Sidekick Essentials 7 set, and the other two “fern” looking leaves are from the Winter Greens dies.

I used the same dies and stamps on my other two cards. Again, here, the paper is from the Summer Art and Worn Wood Collections. I love how dramatic the black background is on this card!

The background on this card is a piece of paper from my stash, but the rest of the products are the same. So fun.

Thank you for stopping by today!

Craftily yours, Karen

Supplies from Elizabeth Craft Designs

Other Supplies

Black, kraft and “ink-looking” patterned cardstock, black ink, ribbon

Fantasy Flowers Scrapbooking

Simple but Beautiful

August 17, 2021

Good morning! I am excited to share TWO layouts I created. 

To create this layout:
Step 1 – Distress the edges of a 12×12 sheet of paper (I used a sheet from the Summer Art paper pack) and a photo mat. Mat your photo


Step 2 – Die cut a title from The Sentiment Strips and a scalloped circle from the Pizza Box and a arrow piece from Planner Essentials 24 to create the title piece

Step 3 – Die cut a Mandala and cut in half and a filmstrip from the Planner Filmstrip and ink or paint the edges
Step 4 – Die cut 3 ferns from Ferns and ink or paint edges

Step 5 – Die cut the tab from the Planner Filmstrip and adhere to the photo and mat

Step 6 – Die Cut 2 small filmstrips from the Planner Essentials 24 and ink or paint edges
Step 7 – Die cut 10 flowers using your favorite ECD floral Die. Ink, mold, and assemble those flowers. I used Florals 8, Florals 3, Florals 13, Florals 11 and Florals 2
Step 8 – Adhere everything as shown

Now for my second layout:

To create this layout:
Step 1 – cover a 12×12 sheet of soft finish cardstock with white gesso and allow to dry or heat set
Step 2 – using the Watercolor Palette paint along the tears and into the paper as light or dark as you like


Step 3 – tear two strips pf each side of the paper
Step 4 – tear 4 pieces of paper long enough to be placed behind the tears of the cardstock. I used the Reminiscence The Book 2

Step 5 – Die cut 13 flowers and 6 Maple Leaves. I used Florals 10, Florals 11, Florals 13, Florals 2 and Florals 8
Step 6 – Using your water color palette paint then mold and assemble your flowers
Step 7 – assemble as shown and add your title

Elizabeth Craft Designs Supplies:

%d bloggers like this: