Karen here. I was so fortunate to be on a once-in-a-lifetime trip with my parents to France in August 2022. I created a Sidekick Essentials page for each place/day we were there. Here are some of them.

I love this fun page using the Sidekick Essentials 17 as a page base. (I really love that I’m standing in front of a Van Gogh painting! WoW) I decorated the page with Fancy Flourishes and Vacay Phrases Stamps.

I used another diecut from the Fancy Flourishes set on the back along with Postage Stamp and Stitched Circle Dies. I tried Escargot on the trip, and one of the stamps from Moods was perfect in describing how much I liked them. LOL, they were okay.

Eek, I totally fan-girled over the Eiffel Tower. The page base is from Sidekick Essential 16. (I cut off the top of the seed packet…) I the picture on the seedpacket is actually on the tag that goes inside the pocket. The OMG diecut is from Planner Essentials 36.

Here’s the back of my pocket page. So many fun sights in Paris. The “where are we” is because my parents spent a lot of time mapping stuff out on their phones, and it made me giggle….and not be lost 🙂

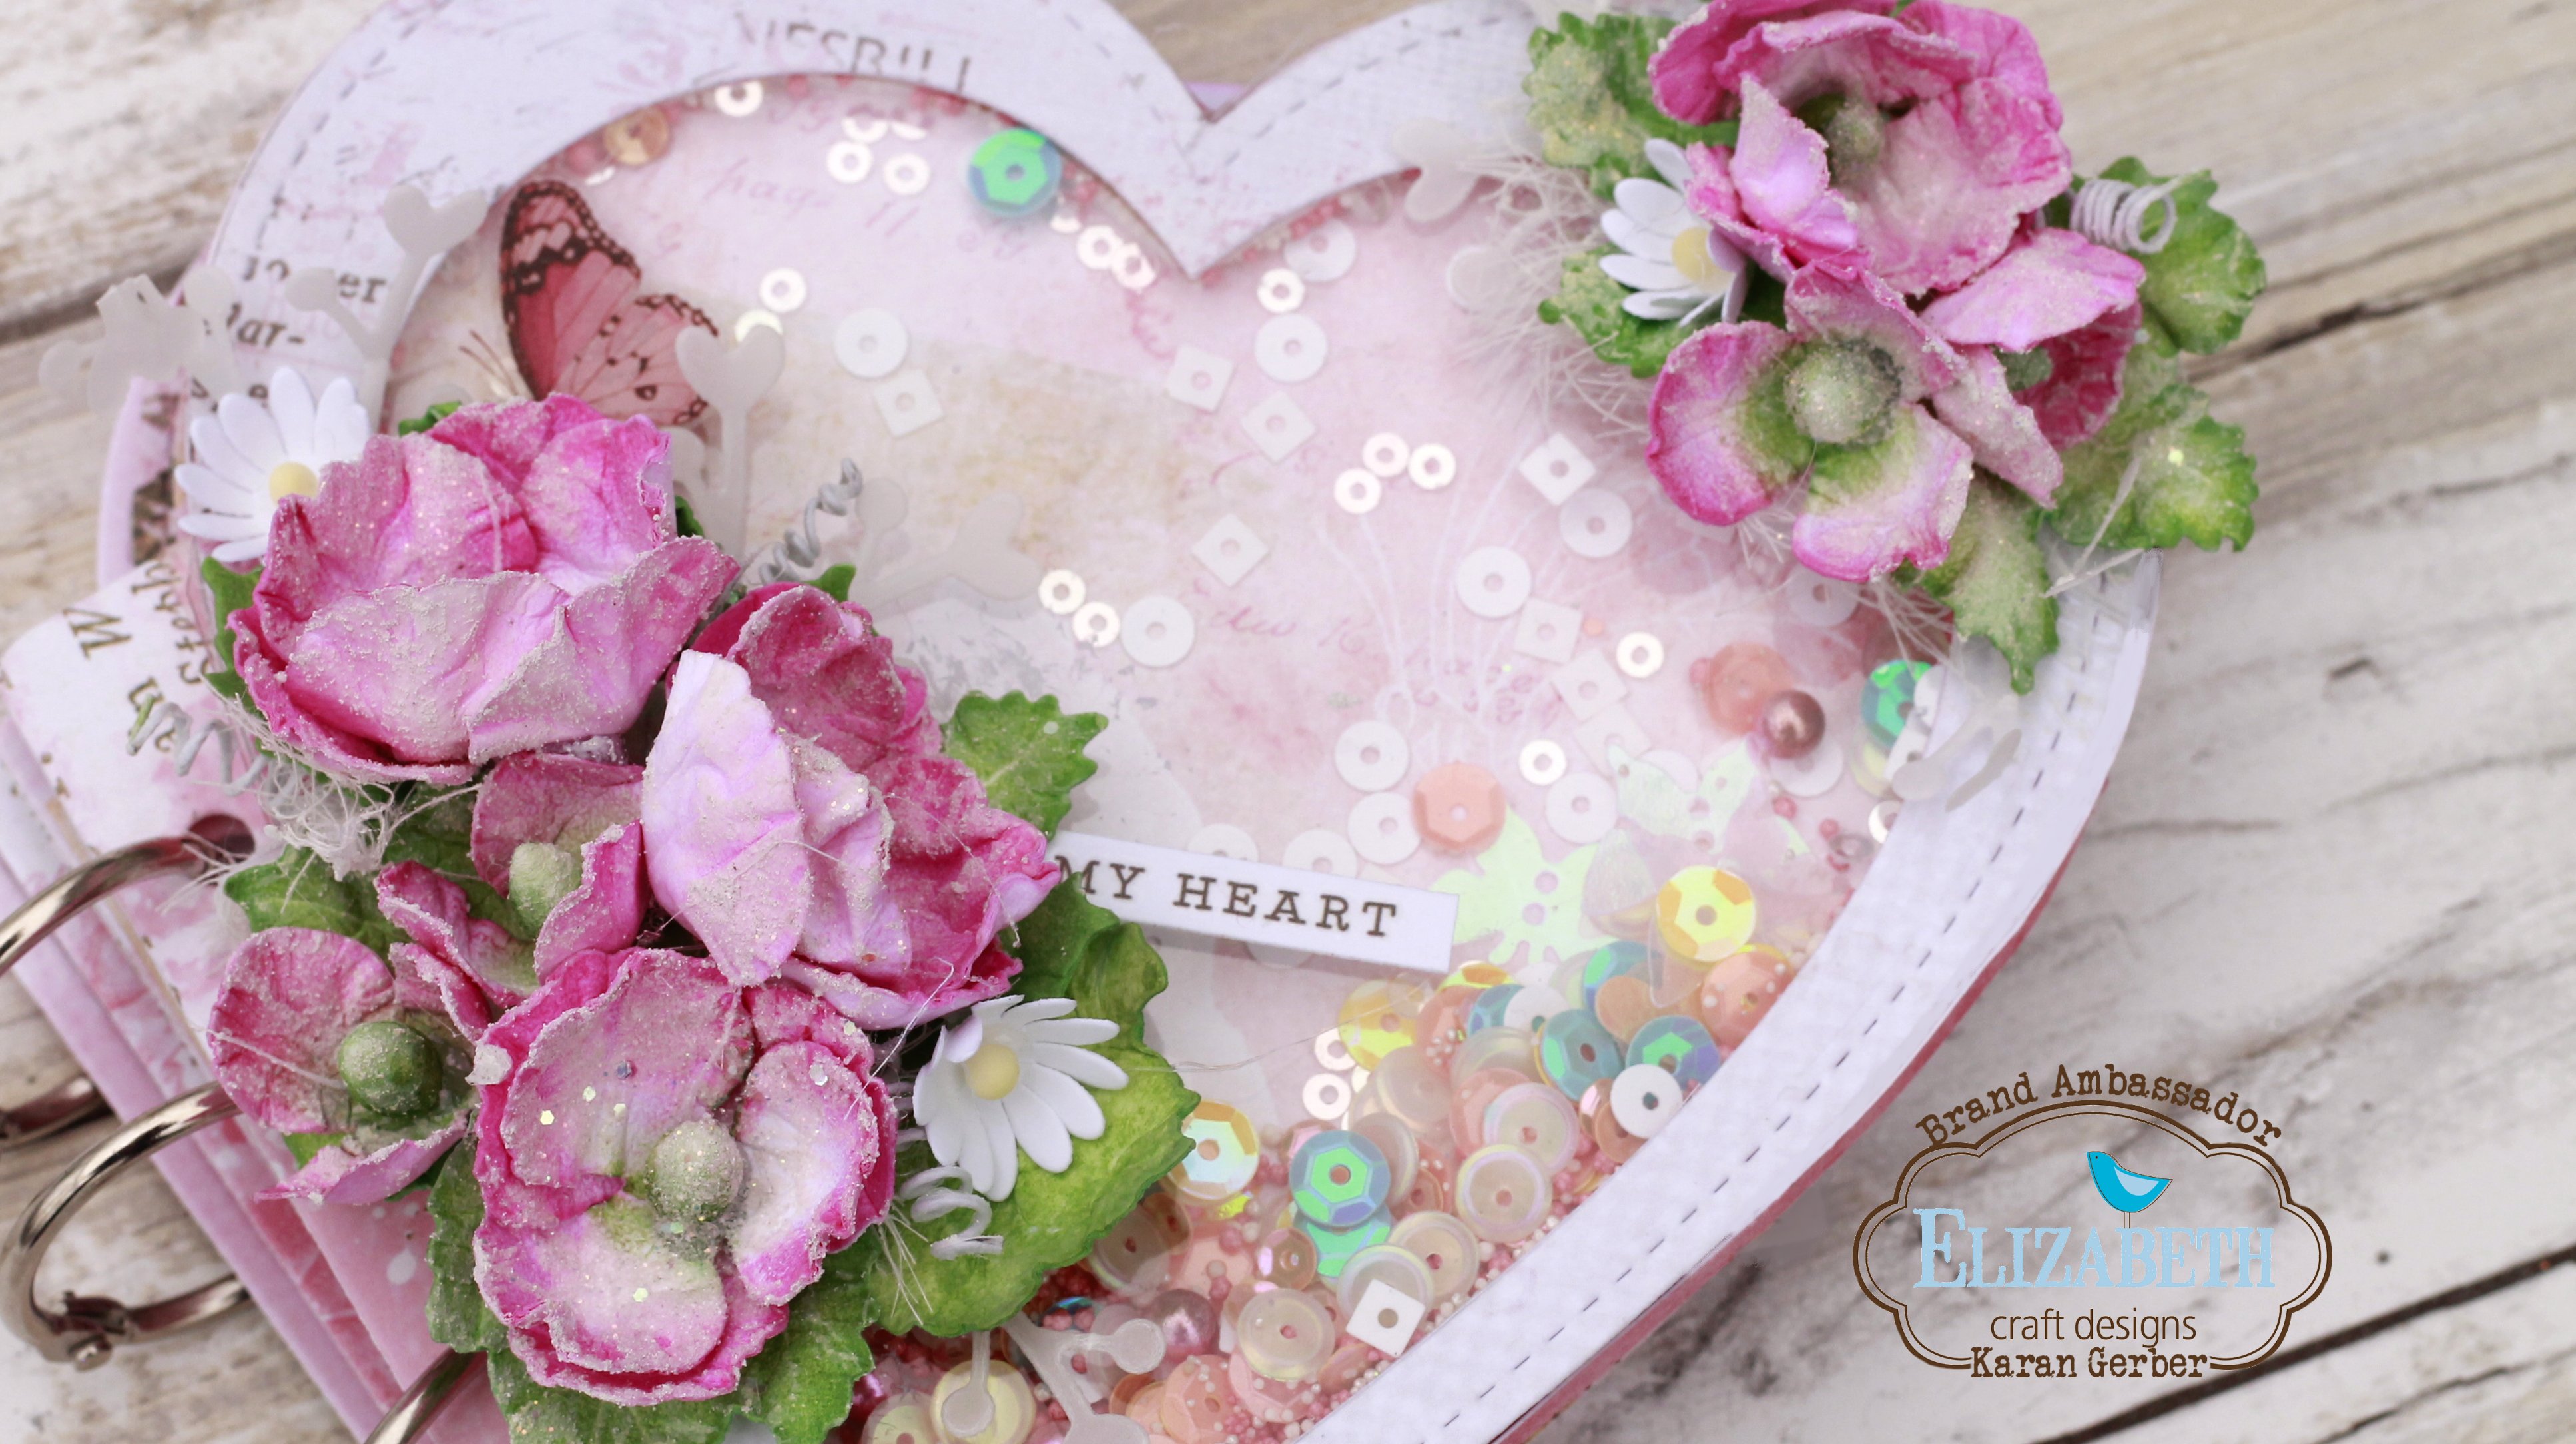
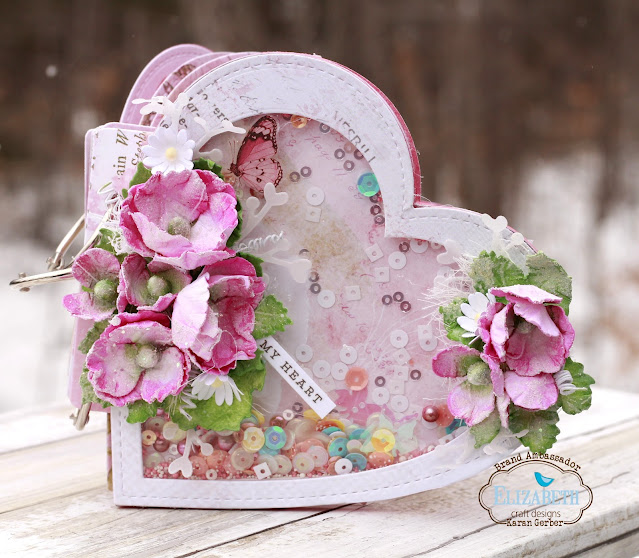
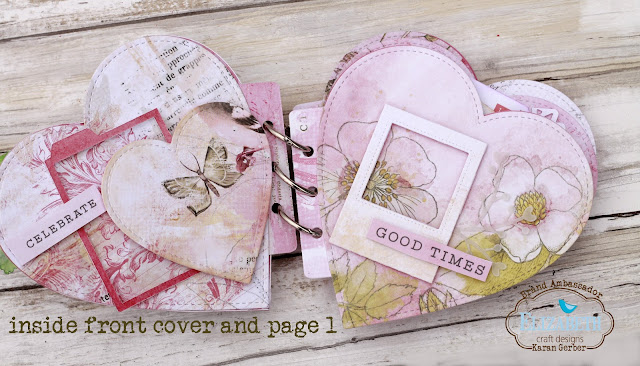
A quick look at the fabulous pictures on the tag inside the pocket. It’s a great way to add great memories.

On our trip, we also went on a two-week Rick Steve Tour. Sarlat-le-Caneda was one of the amazing medieval towns where we stopped. This page base is from the Sidekick Essentials 12 set, and I used the flowers from the Layered Honeybee on this page. I also used the Lace Borders set.

And the back. Of course, all of these pages use fun and quirky reinforcements from one of the reinforcement variety packs. Thanks for stopping by.
Craftily yours, Karen
Products from Elizabeth Craft Designs

Other Supplies
Cardstock, glitter gel pens, inks